
A well-researched film that illustrates a problem and offers practical solutions can be a powerful catalyst for change.
Shooting the video
The bare minimum equipment you will need is:
- A decent home video camcorder (Handycam) or a DSLR or a Point-and-Shoot camera with video capability or a Smart Phone or a Tablet with good video quality and with the right accessories.
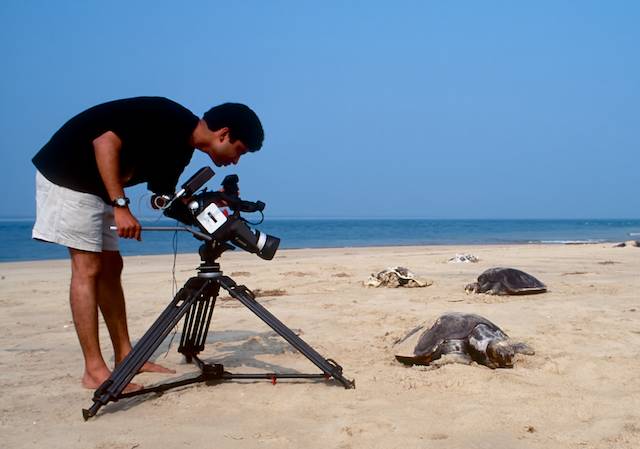
- A fairly sturdy tripod
- A professional or semi-professional video tripod with a friction head or a ‘fluid’ head (a still camera tripod is better than none, but a tripod made for video will enable you to pan and tilt the camera smoothly).
- An external ‘shotgun’ microphone for better audio.
In lieu of all this, see if you can persuade a professional filmmaker who has his or her own equipment to shoot the video for you. This will take the burden off your shoulders and let you concentrate on producing and directing the film.
Tips for acquiring decent video footage
No one likes to watch shaky, out-of-focus videos. When you screen your film, people should get absorbed in its message rather than get distracted by the camerawork. So make sure your shots are as steady as possible. Here are some tried and tested videography tips.
- Video Tip # 1: Keep the camera steady! Use a tripod whenever feasible. If tripod use is not possible, try and hold the camera steady by adopting a good stance and regulating your breathing. If your camera has an image stabilization feature, use it. Lean against a tree, rock or vehicle to keep yourself steady. It is easier to get steadier shots when the camera lens is zoomed out to wide angle rather than when it is zoomed in to full tele.
- Video Tip # 2: Don’t zoom in and zoom out! All video cameras have a zoom function. This should be used only to compose your shot (ie., to set the camera at wide or tele or in between). Zooming in and out while recording generally produces useless, irritating shots. Professionals rarely use the zoom function. A zoom must be used very sparingly, and only when it will reveal something dramatic.
- Video Tip # 3: Learn to use the ‘manual’ mode! If your camera allows you to set focus and aperture (iris) manually, it is better to use it in this ‘manual’ mode rather than in the camera’s ‘auto’ mode. In the auto mode, focus may shift continuously or the camera may focus on the wrong area of the picture. Auto exposure can lead to under or over-exposure, as dark or light backgrounds in the frame may fool the camera. Professionals rarely use the auto focus or auto exposure modes on a video camera.
- Video Tip # 4: When in doubt record for a longer duration! As a rule, shoot all static scenes for at least 10–15 seconds. If there is something interesting happening within the frame, shoot for a minimum of 30 seconds. This is just a guideline. Use your own judgment depending on the scene. It is always better to have a slightly longer shot than one that is too short.
Tips for sound
Films without any sound appear lifeless and make less of an impact, so always record ambient sound. All video cameras record sound automatically, but getting clean sound is not an easy task. So here are some tips for recording good, usable sound.
- Sound Tip # 1: Keep quiet! Try not to talk when the video camera is recording. The camera mic can even pick up whispers. By wearing headphones connected to the ‘headphone’ socket on the camera, you can monitor the sound that is being recorded. This way you will know the quality of sound that is being recorded and you can avoid nasty surprises later. A camera that is on a tripod is likely to record cleaner sound. If you have to take hand-held shots, make sure your fingers do not move too much. The steadier you hold the camera, the less ‘hand noise’ you will get.
- Sound Tip # 2: Be aware of wind! It is difficult to get clean sound under windy conditions. Most camcorders have a ‘wind cut’ setting in the menu that can be used to somewhat reduce the noise of wind on the microphone. However, if it is very windy when you record a shot, you can always record the ambient sound separately at the same location even on another day, when there is no wind. The separately recorded picture and sound can be combined during editing, discarding the bad sound that was recorded along with the picture.
- Sound Tip #3: Take special care in recording interviews! Unless you have a professional quality external mic or a collar (lapel) mic for the person being interviewed, do not record interviews in windy or noisy conditions. It is better to look for a quiet nook somewhere close by and shoot the interview there. Monitor the sound quality with the head phones to make sure you are getting good audio. It is very hard to fix bad audio during the editing.
Older Comments 2
This is really a nice film. Thanks so much for this. This movie teaches lot of things regarding tigers and nature conservation
Good site to learn more about TIGER’S.